
Don't Drop The Cake full walkthrough
To finish Don't Drop The Cake, escape the house, complete the factory buttons and cage rescue, obey the snowfield clock warning, survive Nokiwa's betrayal, then activate the final cabin detonator and deliver the cake. Choose your current chapter or roadblock below to find the next action.
On this page+
Spoiler warning: The route section keeps story spoilers light, but the Chapter 4 and Chapter 5 sections necessarily reveal major events. For a full interpretation after finishing, read the ending explained.
Need one answer without following the whole route? Open the puzzle solutions and quick fixes for button order, cage lever, clock warning, ski controls and both cabin detonators.
Choose your chapter
| Chapter | Detailed guide |
|---|---|
| 1 — House | Flower monster, six buttons and elevator |
| 2 — Factory and Strife | Face order, conveyor and cage lever |
| 3 — In a Freezing Hell | Clock monster, cabin detonator and skiing |
| 4 — At Betrayal's End | Mannequin lights, corridor buttons and escape |
| 5 — Until the Very Last Moment | Final chase and delivery |
Find the roadblock fast
- Factory conveyors, presses, and spikes
- Factory creature, lockers and cage lever
- Snow bridge and the clock creature's Don't move rule
- Ski controls and the corridor afterwards
- Final automatic chase and delivery
Before you start: controls and retry strategy
Move with WASD and counter the cake's slide with the mouse. Use E when the interaction prompt appears and F when the game asks you to lock a door; the opening chapter teaches both actions before they become urgent. Make small mouse corrections while walking straight, stop before a tight turn, and rotate first instead of trying to turn and sprint at the same time.
The pause menu lets you open Difficulty during a run, so a difficult sequence does not require a fresh save. Super Easy is the story-first setting: the official description says the cake stays still unless you move the mouse, and Version 1.02 fixed an issue that could still tilt it. Frequent checkpoints save individual rooms or set pieces, but a death can reset the current button sequence or chase, so learn one hazard at a time instead of rushing back through safe ground.
Chapter 1: escape the house and flower creature
When the flower monster appears in the dark hallway, enter the room on the right and use F: Lock at the door. Search the six rooms for red wall buttons: the first refuge, dining room, bedroom, overgrown room, daisy-filled office and green-floor flower room. Check each button's lamp before leaving.
Use the Chapter 1 house walkthrough for a room-by-room button checklist, the office switch image and the six-light exit. Once the exit lights are green, follow the red corridor. Turn back when the giant hand blocks the route, then take Nokiwa's opened metal passage to the green elevator.
The elevator conversation is followed by a metal-corridor escape and slime rescue sequence. Continue to the Factory and Strife title card for Chapter 2.
Chapter 2 — Factory and Strife
In Factory and Strife, follow the slime workers through the machinery. In the face room, read the four green drawings beneath the right-pointing arrow from left to right, then press the buttons with matching faces. Later, survive the conveyor countdown, pass the pale creature's area and use the cage lever to release the worker.
For the wall clue, conveyor completion cue and six-light rescue console, open the Chapter 2 factory walkthrough.
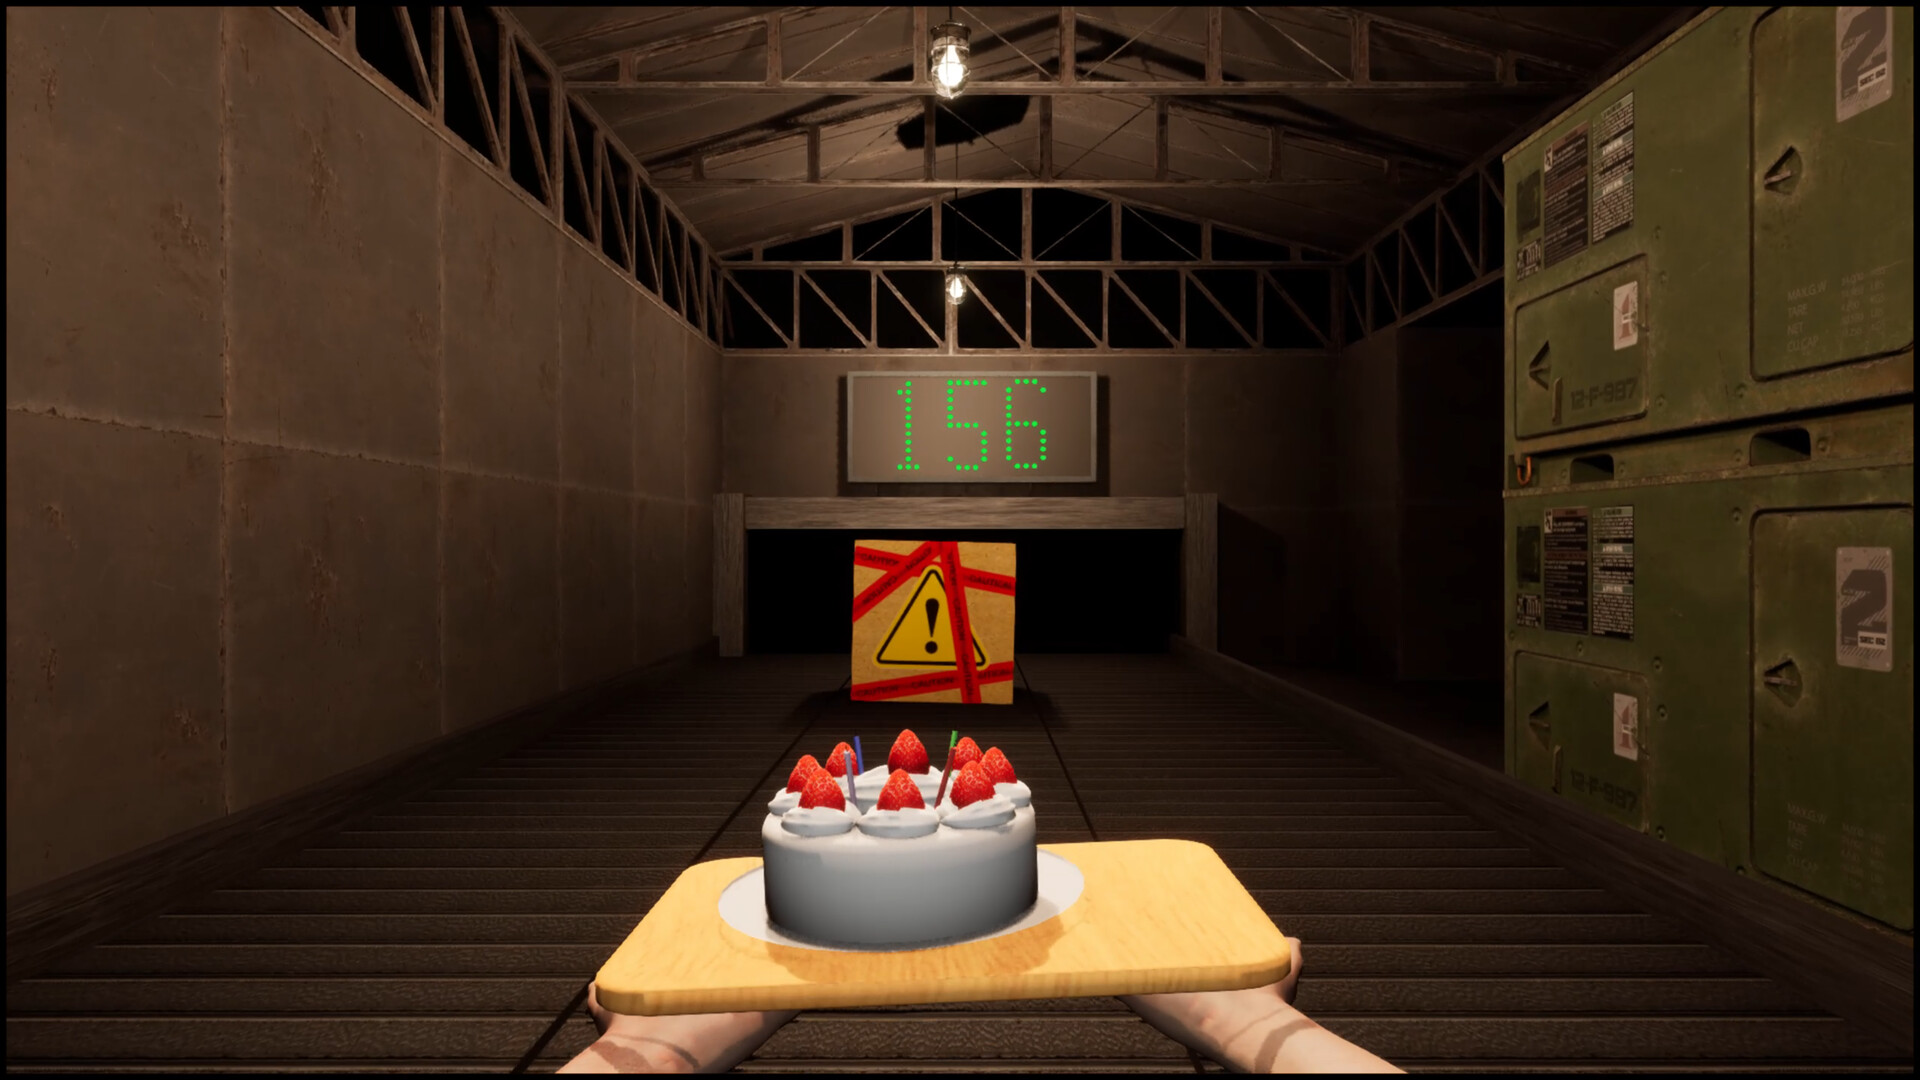
Conveyor belts, presses, and spikes
Keep moving against the conveyor's travel and dodge incoming crates and barrels. When its countdown reaches zero, watch for Nokiwa's hacking message and follow the escape opened by the alarm sequence. Version 1.01 adjusted this stage's difficulty, so use the current obstacle gaps rather than a recording's exact input duration. At moving presses and spikes, observe the opening from safe floor, face the next landing and stabilise after crossing.
Factory creature, lockers and cage lever
Nokiwa describes the pale creature as fast and half-blind. Use the blue lockers during pursuit, then follow green wall arrows to the remaining buttons. At the caged worker, check the column of six lights on the left; once the indicators and lever lamp are green, activate the separate lever on the right. The cage rises and the worker walks out. This rescue console comes after the earlier conveyor countdown.
Chapter 3 — In a Freezing Hell
Nokiwa explains the world of the dead at the start of In a Freezing Hell, then leads you over a snow bridge where wind makes the tray drift. Aim down the centre, advance in short bursts, and use the visual movement of the cake—not the scenery—as your correction cue.
If you are stuck at Don't move, the cabin detonator or the ski flags, use the Chapter 3 snowfield walkthrough for a section-by-section retry plan.
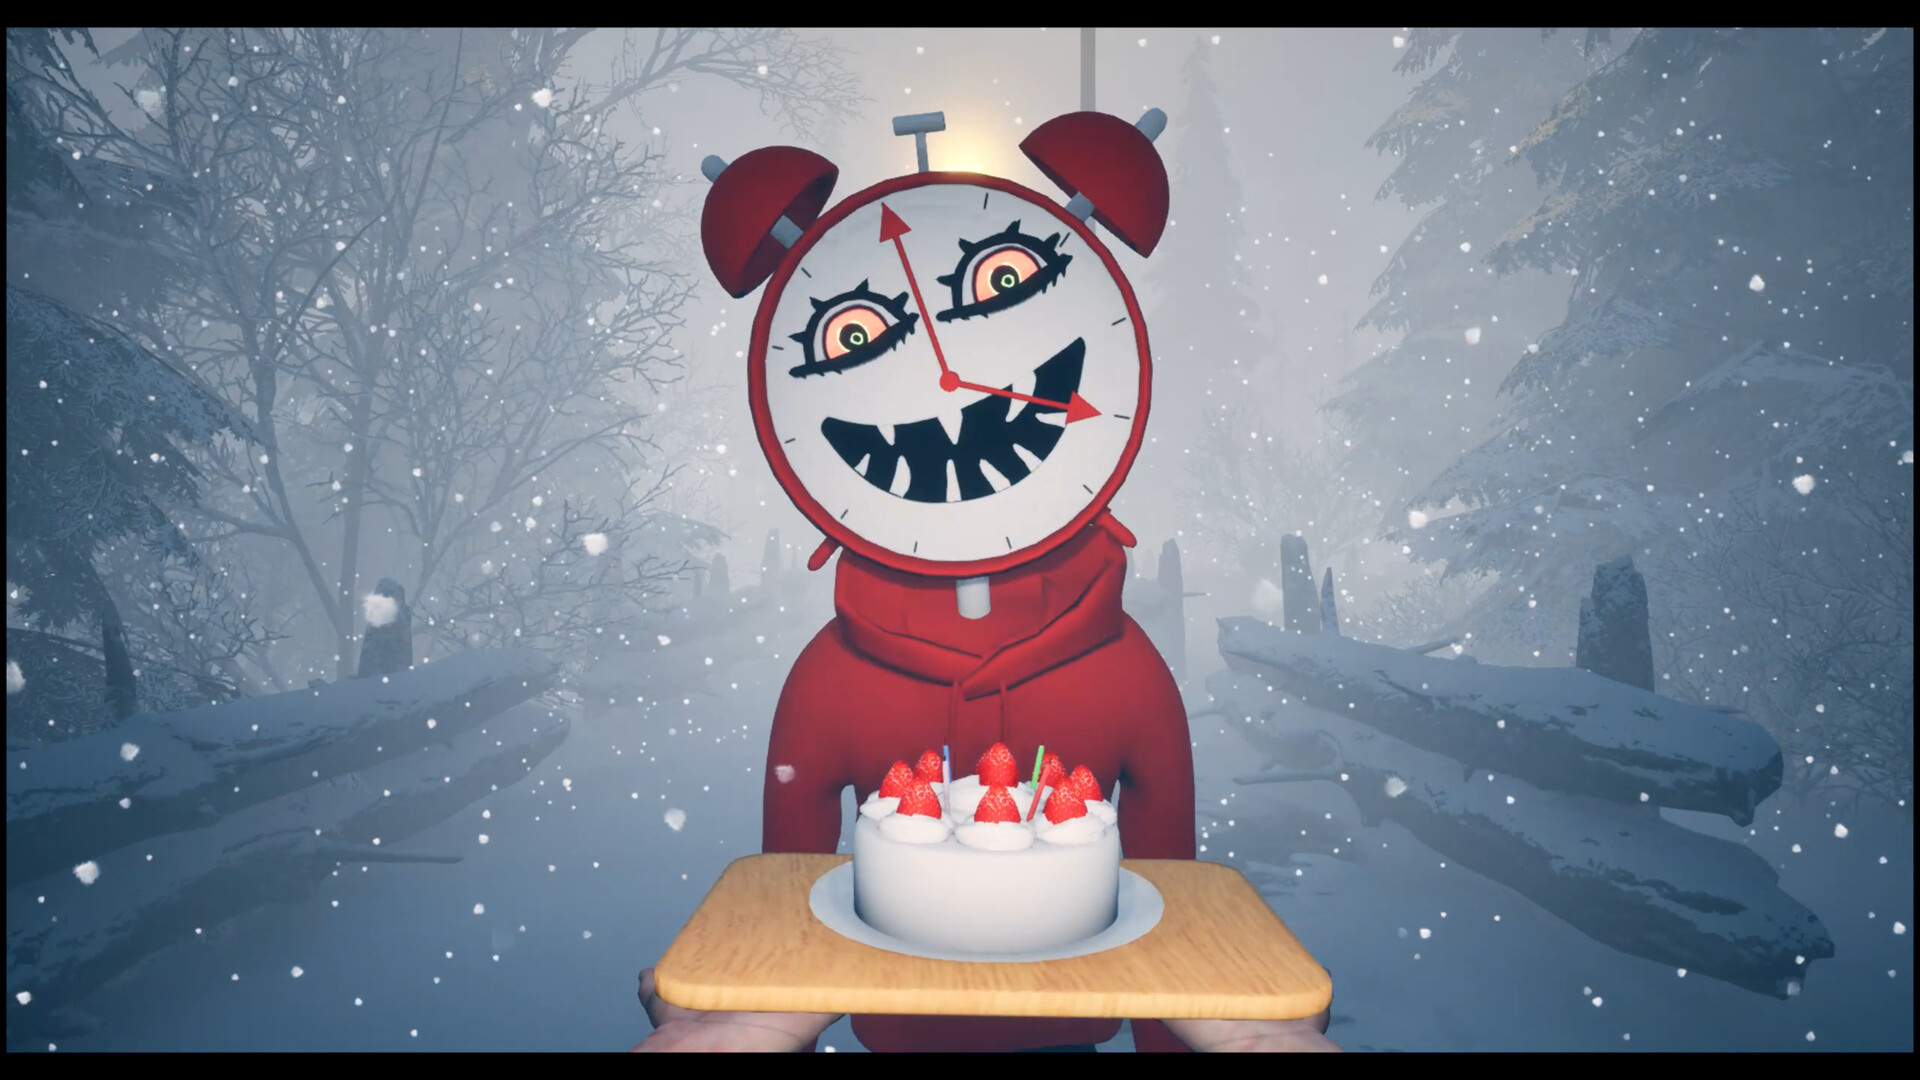
Snow bridge and clock creature
The clock creature's stop-and-go encounter requires you to release movement and leave the mouse still during Don't move. Reach the fenced cabin, locate the outdoor T-handled detonator beside the rock, and wait for Nokiwa's saxophone cue before activating it. The blast is followed by the clock creature's rewind; continue Nokiwa's instructions toward skiing.
Ski controls and the corridor afterwards
The ski tutorial shows A/D steering and Space to brake. Use the brake before a difficult flag-marked passage, begin the turn early and straighten after it. If you collide, adjust the line earlier; if the cake drops on a clear line, reduce mouse movement.
After the descent, follow the hanging lamps into the dark corridor. Wait when Nokiwa asks, then continue when he directs you onward. The door and projected imagery lead toward the next chapter. The Chapter 3 guide provides the device image, keyboard tutorial and scene times.
Chapter 4 — At Betrayal's End
After the opening memories, reach the dark hall with a mannequin head between eight coloured lamps. Move while it faces away and stop when it turns toward you with glowing eyes. Reach the red button below the head, activate it, then use the adjacent door to continue.
After the television memory, search the grey corridor branches for wall buttons. A separate barred gate has six vertical indicators: a remaining red light means the search is unfinished. The Chapter 4 walkthrough shows the pedestal, corridor plate and gate so you can distinguish the two light mechanisms and find your next action.
Continue through the slime encounter, contract memory and arm-lined escape corridor. Nokiwa's reunion and the following recollections lead into the final chapter. For interpretation of the betrayal after finishing, use the ending explained.
Chapter 5 — Until the Very Last Moment
Final automatic chase and delivery
The short final chapter, Until the Very Last Moment, begins in the house and quickly becomes an automatic forward chase through earlier environments. Keep the camera aimed along the lane, use lateral movement to avoid beams and obstacles, and make mouse corrections only after each dodge. Do not stop to search for side paths; the sequence is a test of the movement patterns the previous four chapters taught.
After the ski route and Nokiwa's bridge encounter, follow the sequence to the explosive-filled cabin. Once the giant creature arrives, find and activate the red T-handled detonator outside the cabin, beside its wooden wall. The explosion advances the rewind and memory scenes; follow the subsequent prompts to complete the delivery. For the monitor-lined factory lane, ski hazards, detonator image and video positions, use the Chapter 5 final chase walkthrough.
The daughter eats the cake, recognises the fulfilled promise and passes on peacefully. The father returns to the living world, Nokiwa's contract is completed, and the closing broadcast/song sequence leads into the credits. Stage Select becomes useful after completion if you want to replay a chapter without repeating the full story.
Fast fixes for the most common roadblocks
If the cake keeps falling, stop combining a turn, a sprint and a large mouse correction; perform those actions separately until the next checkpoint. If the flower creature catches you, prioritise the right-hand room and the lock prompt rather than searching the corridor. If the factory creature keeps finding you, use a nearby locker during pursuit, then resume the wall-button route once the creature passes.
If the clock monster kills you, the usual cause is input during a Don't move phase, including unnecessary mouse movement. If the ski route feels uncontrollable, use the Space brake before the difficult turn and line up with the next flag-marked gap. If a belt guide from launch day feels wrong, check that your game has Version 1.01 or later, because the developer adjusted that section immediately after release.
Verification record and sources
October 13, 2026: Chapter 1's six-room button search and exit were rechecked in BENG's footage. Chapter 4's section was corrected to the mannequin light challenge, corridor buttons and memory/escape route; its dedicated guide also compares Ziggy's scene order. The new chapter guides link the reviewed moments and screenshots. Chapter 2's face clue now has a numbered enlargement. Other sections retain their review records below.
Chapter 2's wall-face clue, conveyor countdown and cage lever, plus Chapter 3's outdoor detonator, ski controls and post-ski corridor, were rechecked against BENG's footage on October 2, 2026. Their dedicated guides link each observed scene and its images.
Chapter 5's cabin and detonator sequence was rechecked on October 2, 2026 against BENG and Ziggy's finale footage. The dedicated Chapter 5 guide records the exact video positions and separates scene observations from retry advice. The earlier whole-route review remains dated below.
Route reviewed on September 11, 2026, using BENG's post-Version 1.02 no-commentary run, Ziggy The Adventurer's complete 4K run, and FluffeyPanda's hardest-difficulty completion. Official store facts and patch behaviour were cross-checked against the full-game Steam page and Midoriyama's Steam announcements. Footage was used to reproduce the route and interface; the wording and tactical explanations here are original editorial synthesis.
This is an independent guide, not developer documentation. A patch can change timing without changing the story route, so the page states the review date and calls out the known conveyor and Super Easy fixes. If your current build behaves differently, check official patch notes before assuming that an older video or input sequence still applies.
Continue exploring
Related guides
Don't Drop The Cake Guides: Puzzle Solutions & Fixes
Stuck in Don't Drop The Cake? Find factory button solutions, cage lever checks, clock monster rules, ski controls, cabin detonators and final chase fixes.
Don't Drop The Cake Beginner Guide: Controls & First Steps
Start Don't Drop The Cake with the real controls, a first-run difficulty choice, checkpoint habits, five-chapter expectations, and version advice.
Don't Drop The Cake: Demo, Prologue and Full Game
Compare the Don't Drop The Cake Demo, Prologue and full game by Steam app, release date, scope and save-carryover notice. Avoid following the wrong route.
Don't Drop The Cake Controls & Cake Balancing Guide
Don't Drop The Cake controls and balancing guide for WASD, mouse corrections, corners, chases, conveyors and ski sections, with fixes for common cake drops.